Your first look
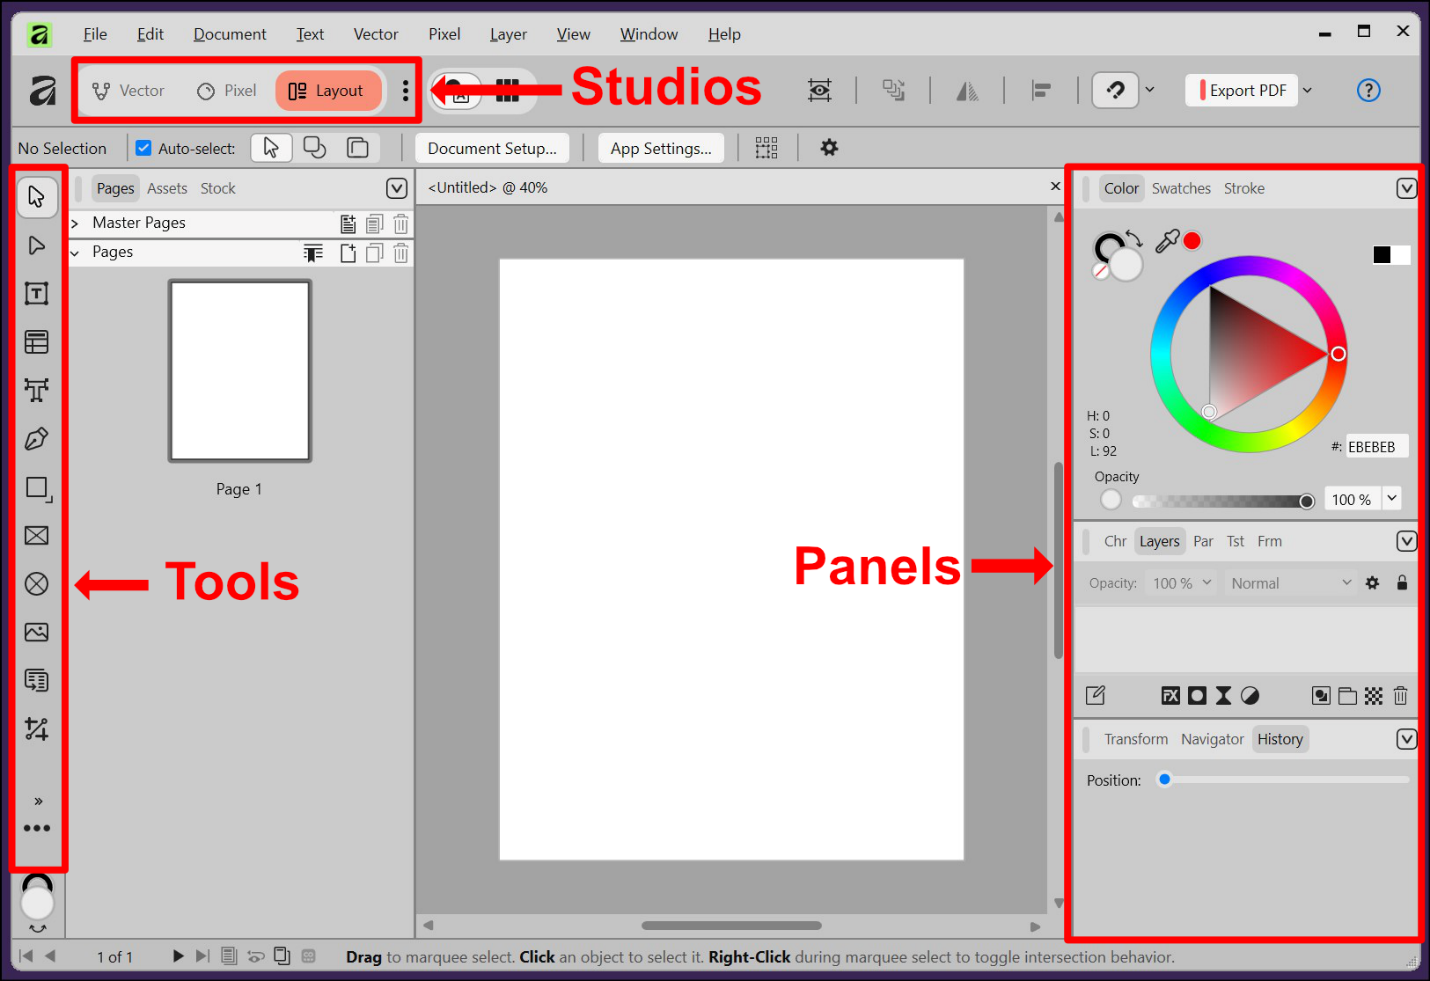
When you first open Affinity, it will look similar to the screenshot below.
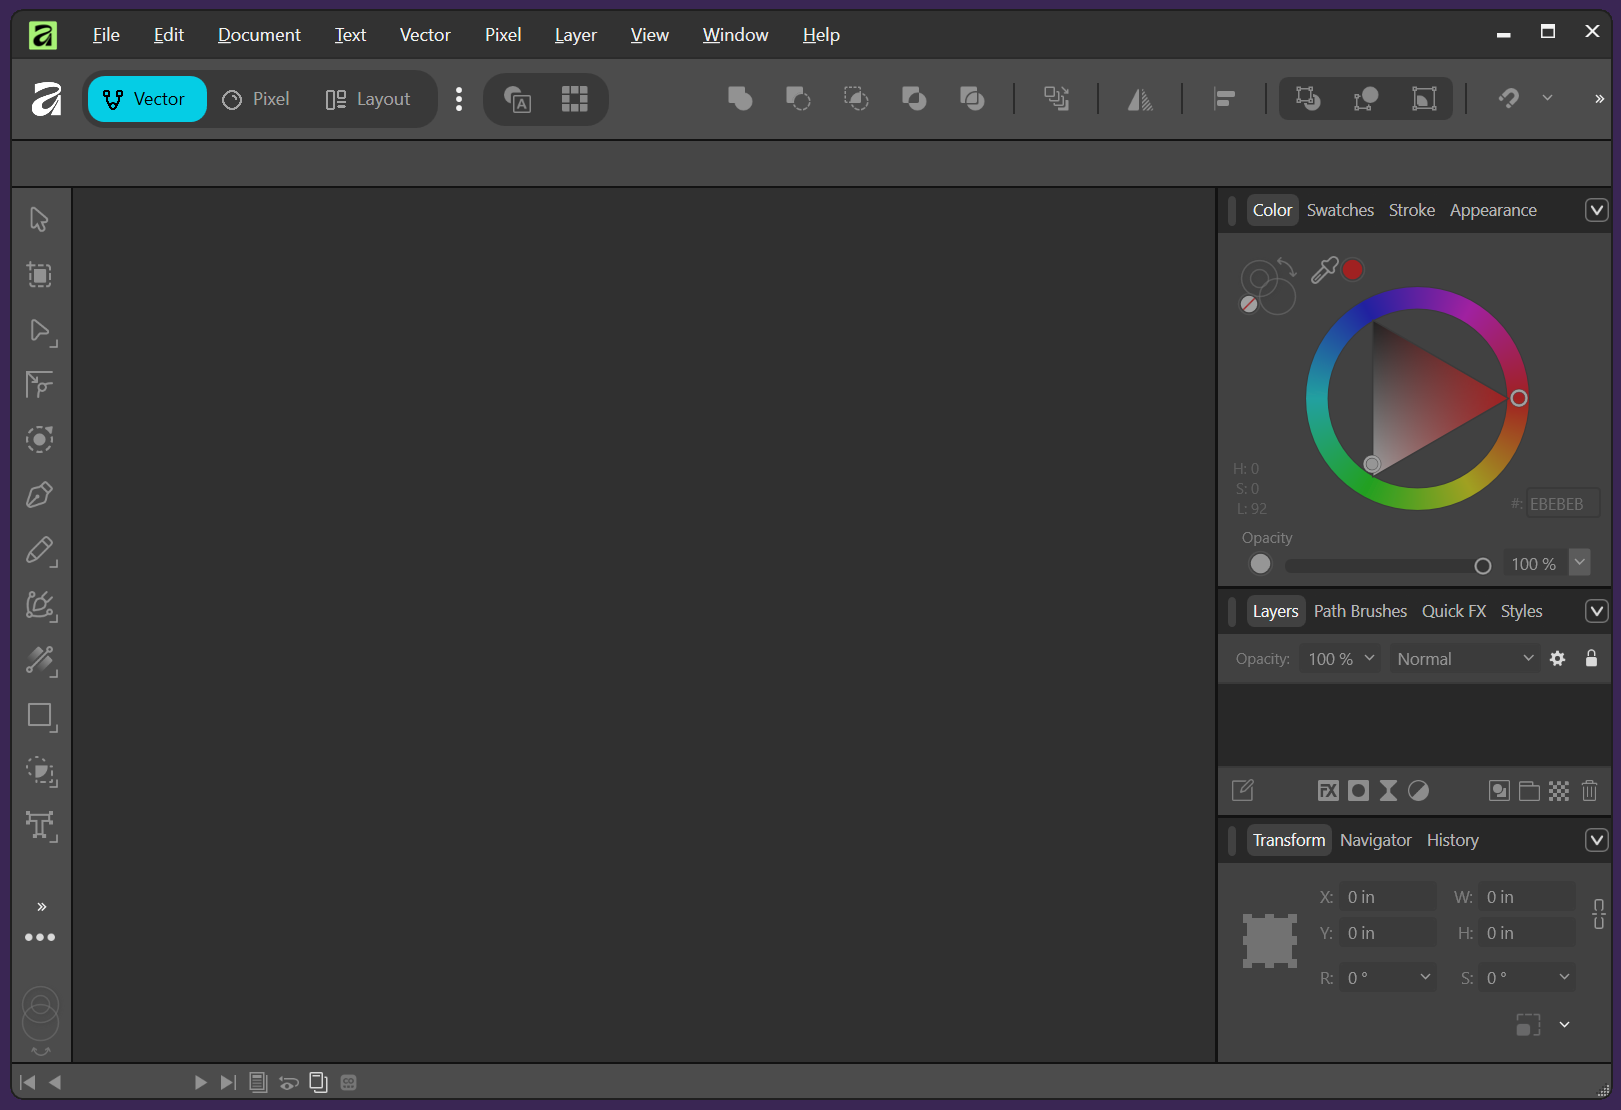
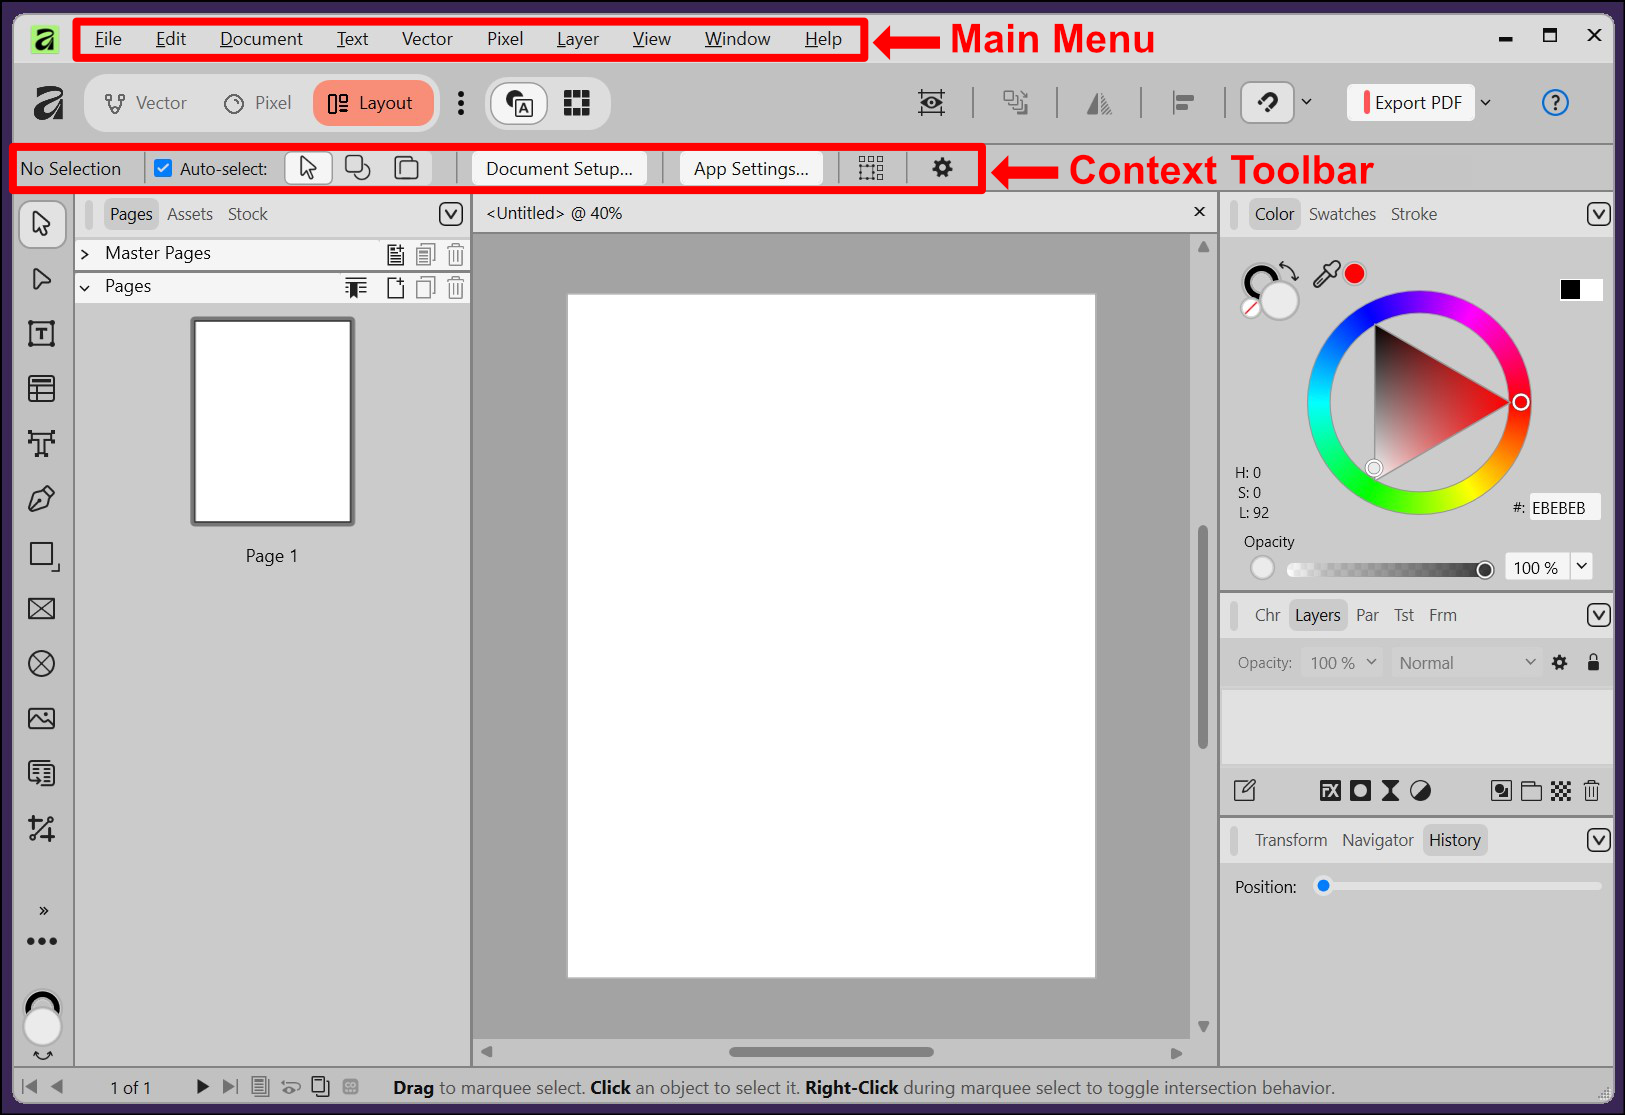
Once a document is open, you will see it in the center of the window. The next screenshot shows a blank document in Layout Studio with the light interface style. The first screenshot shows the dark style.
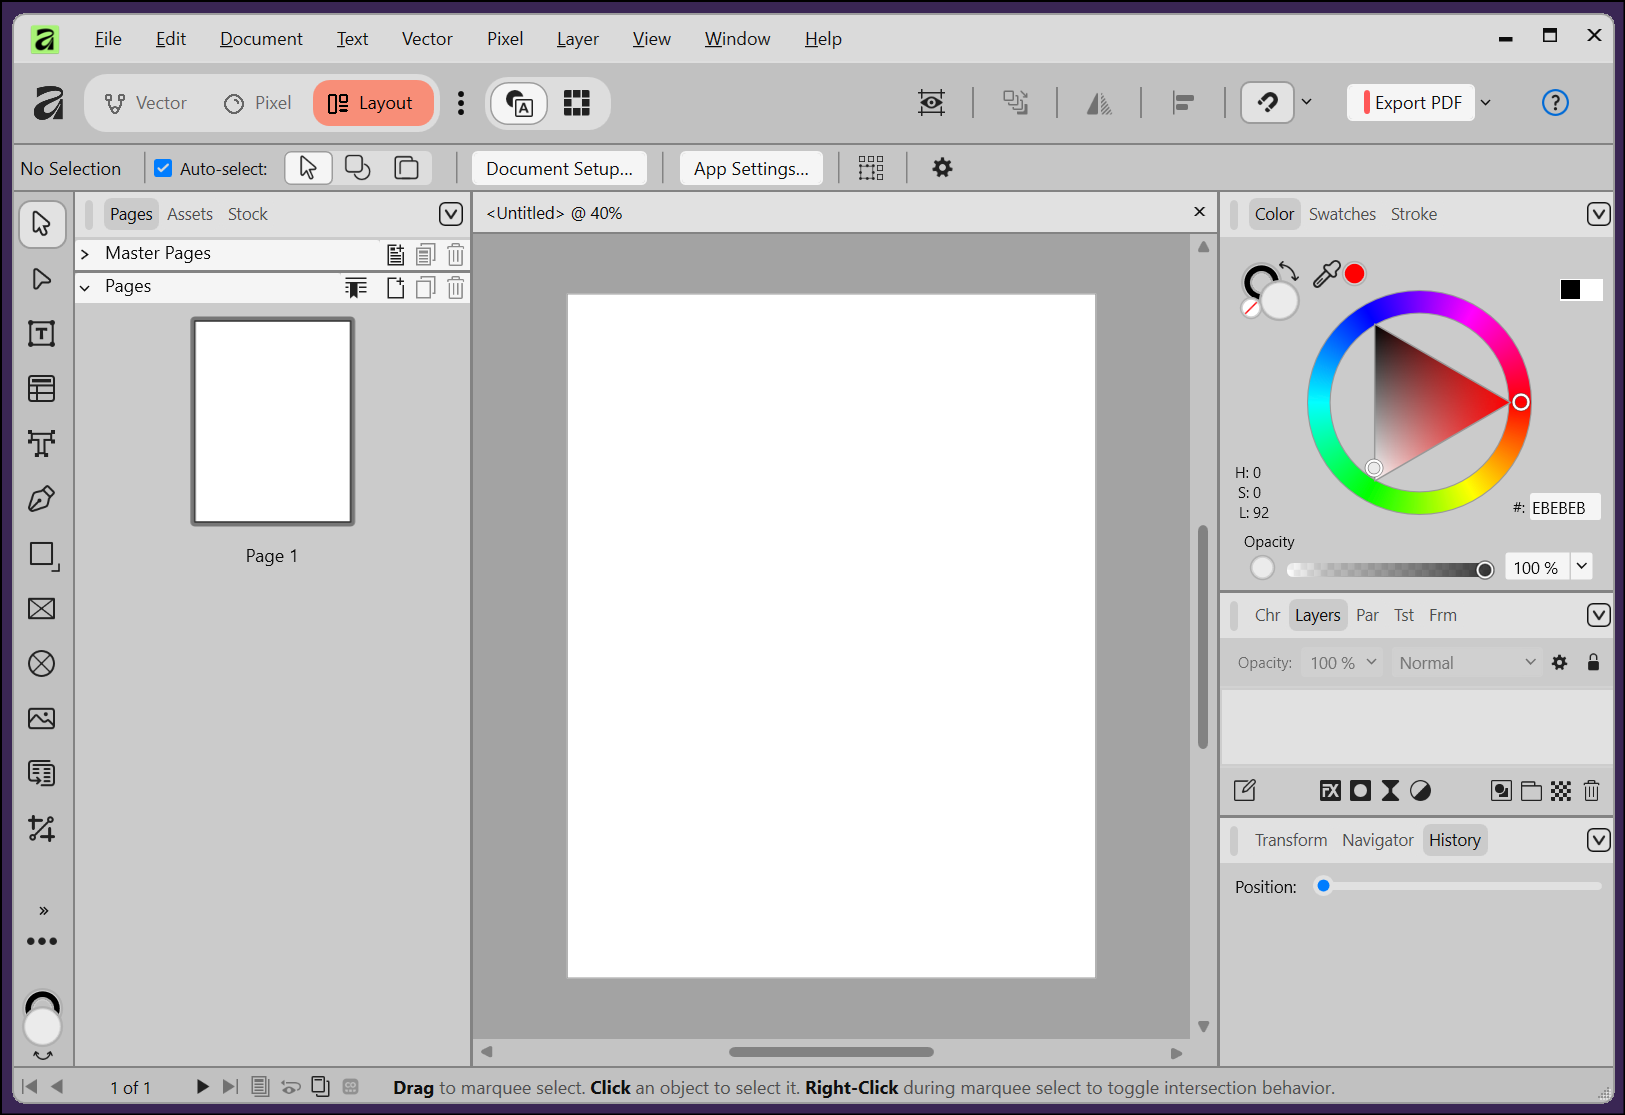
Canvas and pasteboard
Canvas: The central area where your active document sits, like a piece of paper on a desk. This is similar to how pages are displayed in Microsoft Publisher.
Pasteboard: The workspace outside the document pages. Like the scratch area in Microsoft Publisher, it can hold items you do not currently want to appear on a page.
Menus and context toolbar
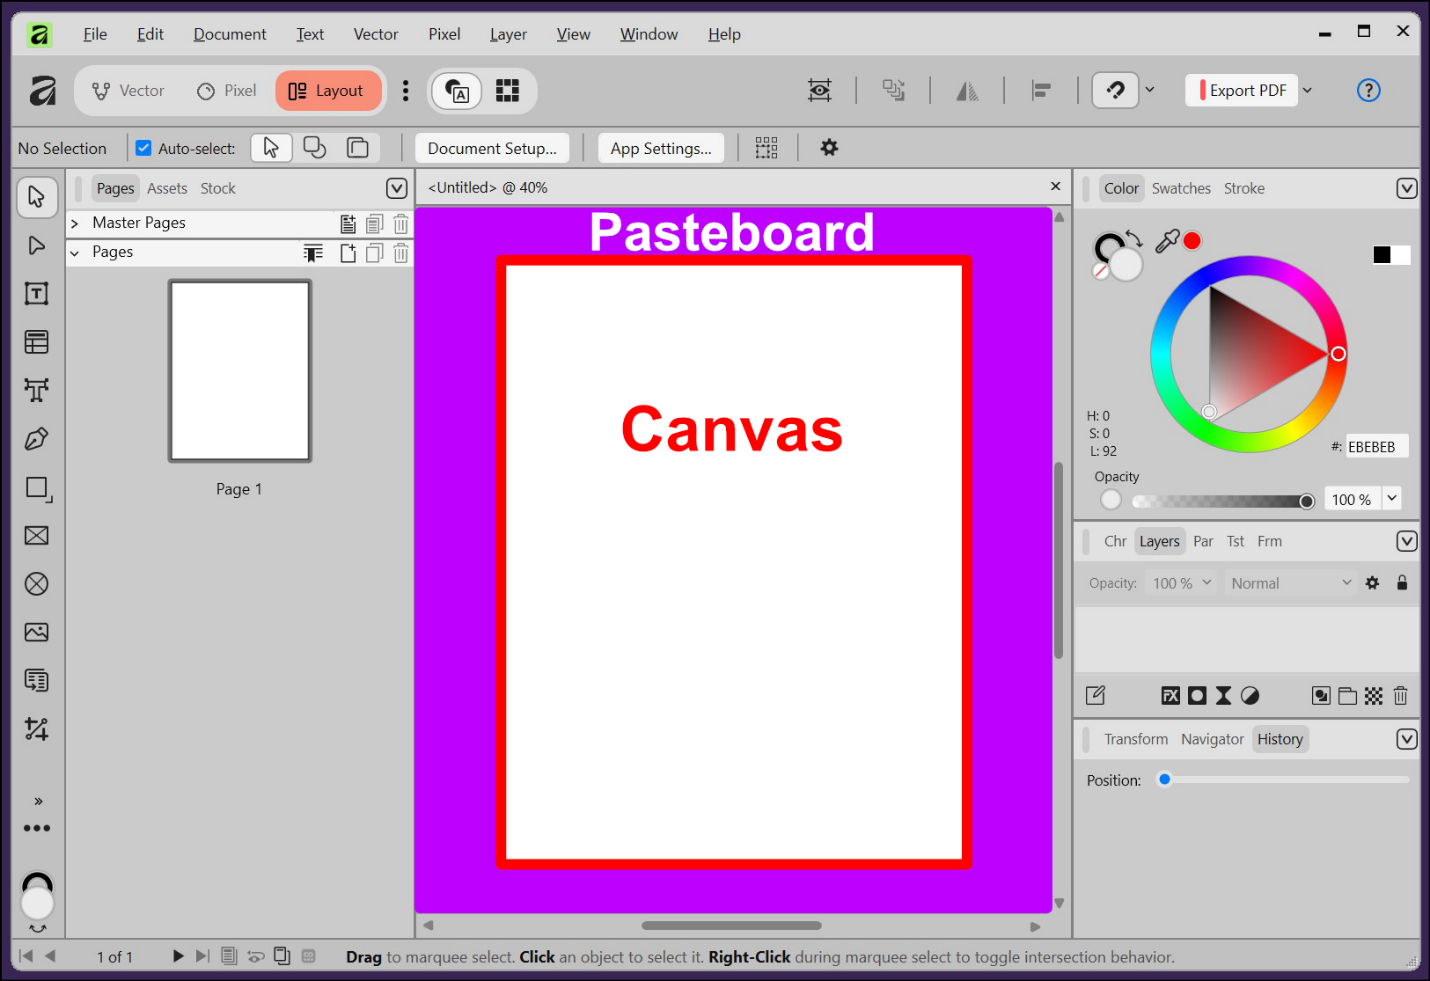
Main menu: At the top of the Affinity window, the main menu gives you access to general tasks. Here are some of the menus you will use:
- File: Open, Close, Save, Save As, and Exit.
- Edit: Undo, Copy, Paste, Delete, and general settings.
- Document: Document settings.
- Text: Text operations such as size, spacing, alignment, and spelling.
- Layer: Work with the stacking order of page elements. As in Microsoft Publisher, an image can sit in front of or behind a block of text. You can bring an element forward or send it backward.
- View: Change how items are displayed.
- Window: Choose windows, panels, and other elements to display.
Context toolbar: This bar changes with the tool you select. For example, it can show stroke width for lines or font options for text.
Studios, tools, and panels
Studios group tools and panels together. Selecting a Studio changes the tools and panels available for that type of work.
For bulletin editing, you will mainly use Layout Studio.
- Vector Studio: For shapes and paths. Think of vectors as lines.
- Pixel Studio: For photo editing. Think of pixels as images.
- Layout Studio: For multi-page documents. Here you will see thumbnails for document pages and master pages. Double-click a page thumbnail to navigate to that page.
Tools (left): Each Studio’s tools are arranged in a vertical strip on the left side of the Affinity window.
Panels (right): Panels provide settings for the page items you are working with. In Layout Studio, these include text settings such as font size, line spacing, and paragraph spacing.